You can add text in 3 areas on a NoteDex Index Card: the Title, the Front body of text and the Back body of text
Title: The title is limited to one row just like on a real index card. Keep the title short so that it shows properly when you see all your cards in the thumbnail view.
Front and Back Body: Both these areas can contain lots of text. You can also use all the text formatting features on the text toolbar.
This includes the basic bold, italic etc. but also change text color, insert a hyperlink, add a table, insert symbols and more.
One other cool feature we have is to increase and decrease text size with Font Size Up and Down icons. This helps you to write a lot of text on a card and then adjust the whole size accordingly.
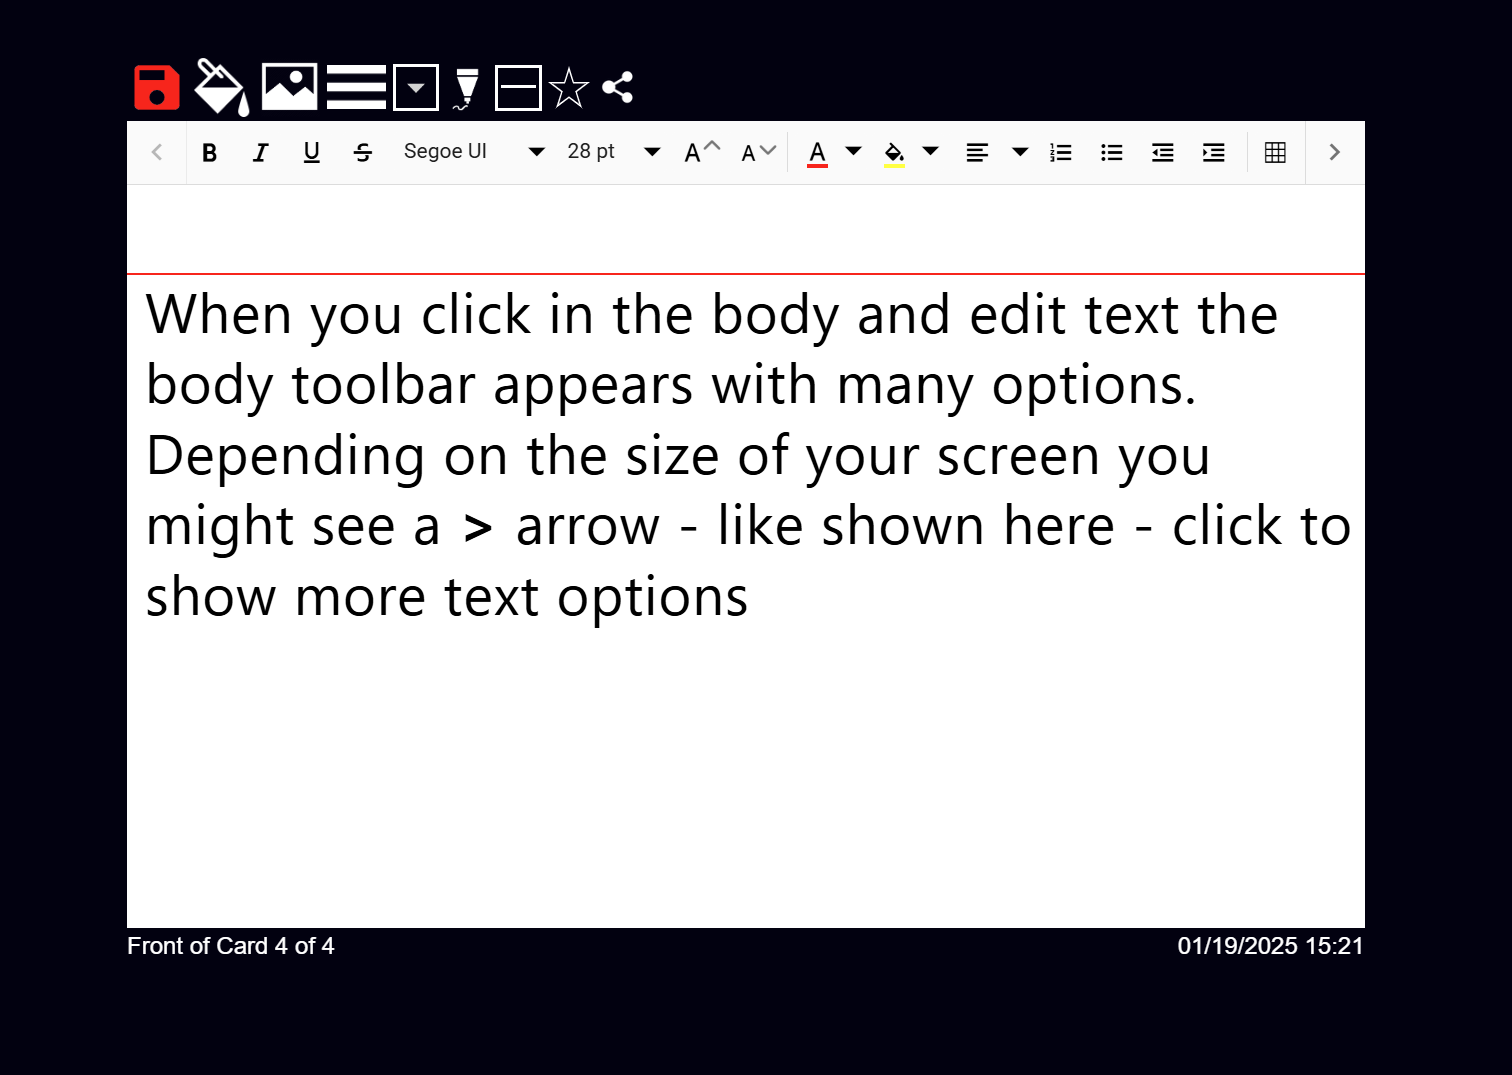
The icons on the toolbar are as follows:
- Bold/Italic/Underline/Strikethrough
- Change font
- Change font size
- Increase font size for all text on Card body - great if there is too much text to fit on card
- Decrease font size for all text on Card body
- Font color
- Highlight color
- Alignment (Left, Center, Right, Full)
- Items - Numbers
- Items - Bullet
- Indent/Outdent
- Insert Table
- Insert Hyperlink
- Superscript
- Subscript
- Symbols
- Undo text
- Redo text
- Clear Format
While we do have the Symbols icon to insert some special characters if you want to add others then we recommend you use the Windows or Mac built-in on screen character keyboards. Then you can insert special language symbols.
Here are some articles to help:
At the current time you cannot use custom fonts in NoteDex
To Undo text on a Card use the Undo Text icon on the text toolbar. For text, you can use the undo symbol on the text toolbar, but the keyboard shortcut Ctrl-Z (on Windows) and Option-z (on Mac) will also work.
In addition to Undo text functionality and we also recently implemented unto for ink also.